Setting up a new Facebook account can be a bit of a pain. Take our 5 steps to ensure you’ve properly setup your profile and set yourself up for a positive experience on Facebook. Additionally, we have tips on how secure and protect your privacy and data while on Facebook.
Over two decades ago, the first recognizable social media website was born. The site’s name was Six Degrees, and it allowed users to create profiles, add photos and become friends with other users. Two years after this site was created, blogging sites rose to popularity, and social media as we know it today was born.
In 2006, big-name companies Facebook and Twitter became available to users from around the world. Although other popular sites, like Myspace, have failed over time, Facebook has stuck around.
If you’re new to the world of Facebook, it’s important to know that it’s simply a social networking site that connects you to friends and family online. It was originally created for college students, but the platform now has more than 2 billion users in total from all walks of life.
On Facebook, you can send people messages, post status updates to your profile, see photos and videos and more. Unlike calling individuals individually or emailing them, Facebook allows you to be more public with your communications and talk to multiple people at once or convey information to groups of people.
If setting up a new Facebook account is too difficult for you then consider reaching out to HelpCloud Technician by-the-hour.
1) Proper Creation
When you’re ready to create an account, go to www.facebook.com/r.php. You’ll need to enter your name, email address or mobile phone number, date of birth, gender and a password. If you do not have an email address yet, you can learn how to create one here.
After all of this information is filled out, you want to select “Create an Account.” Facebook will then ask you to confirm your email address or mobile phone number before your account is officially created.
Users who sign up with an email will need to log into their email, find a message from Facebook and click or tap on the link in the body to activate. If you can’t find your Facebook signup confirmation email, check your junk mail folder first. Google users can sometimes also find the email in their “Social” emails folder.
In the event the email isn’t found in either one of these places, make sure you entered your email correctly. It’s easy to enter the wrong email or misspell your email address. You can correct errors by changing your email address and sending the email again.
People who sign up with a mobile number should receive a text message from Facebook. The message will have a link or a “Confirm” box in it, and when you click on it, your account should activate.
Sometimes, your mobile phone doesn’t display the text you need in order to confirm. If this happens to you, check to ensure you entered the correct phone number. Incorrect numbers can be changed, and the text can be sent again.
Another option is to try and send a message that says “Fb” to 32665. When you do this, you should get a text back that says something like “Facebook Mobile confirmation code: [your unique code here].”
2) Add Friends
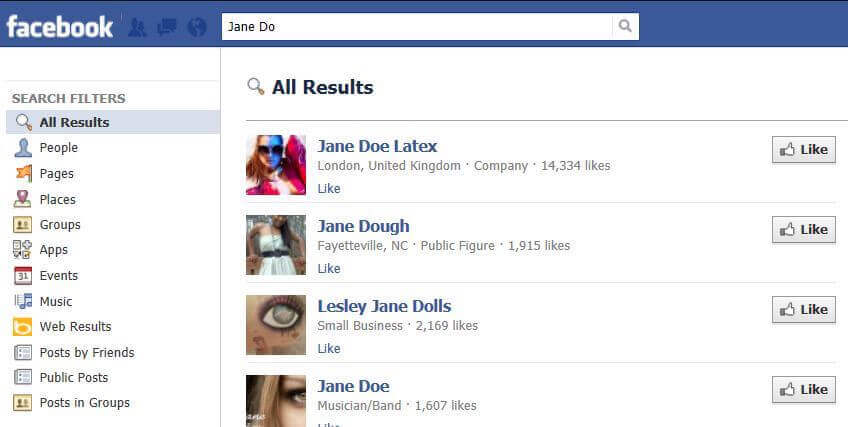
After you confirm your credentials, you can start to connect with individuals you know. On the top of Facebook.com, there’s a search bar. Type a friend’s name into the search bar and click the magnifying glass icon to look for them.

Source: SeniorNet
As long as your friend has a Facebook account, their profile should come up. Another way to search for them is to click “People” and then type in their name. To send your friend a request to connect, click “Add Friend,” which should be next to their profile picture.
People who don’t want to search for individual friends one by one can find more friends by using their contacts. You can upload your contacts from your mobile phone to see if any of the people in your phonebook have Facebook already. You can also invite people from your contacts who don’t have Facebook to join.
When you have a few friends on Facebook, you can use a feature called “People You May Know.” This is an offering from Facebook that makes suggestions for possible connections.
When someone has mutual friends with you, is in similar groups, is tagged in a photo with you or is in one of your networks (like your alma mater), they will likely pop up as a suggested friend.
3) Get Acquainted With the Homepage
Every time you log onto your Facebook account, you will see your homepage. One of the main features of your homepage is your news feed. Your feed constantly updates with posts from your friends, pages you follow and other connections you’ve made.
Every time you enjoy something you see on your newsfeed, you can react to it. At the bottom of the post should be a “Like” button. When you tap on this icon, the person who posted the content will receive an alert that lets them know you liked their post.
Unfortunately, it’s easy to accidentally hit the “Like” button accidentally from time to time. If this ever happens to you, you can hit the button a second time to revoke your like.
In addition to liking, there are other reaction options. One such example is replying with a smiling face or a heart icon. Computer users need to hover their mouse over the “Like” button until a menu with reactions pops up to access this feature.
Once the menu populates, you can click on the reaction you want to use. Mobile users should tap and hold like to get their reaction’s menu to come up. Then, you tap on the reaction you want to send.
As a Facebook profile holder, you can also comment on the things you see. To comment on something, click the “Comment” link under the post. Sometimes, this link says “Write a comment.”
After you’ve selected this option, type in your comment and press the “Enter” button on your device to publish your writing. Just be sure not to hit the “Enter” key to start a new paragraph. If you need to insert a line break, you hold “Shift” on your keyboard and then press “Enter” or “Return” at the same time. This way you can break up your text without incorrectly publishing part of your message.
4) Talk ‘One-On-One’
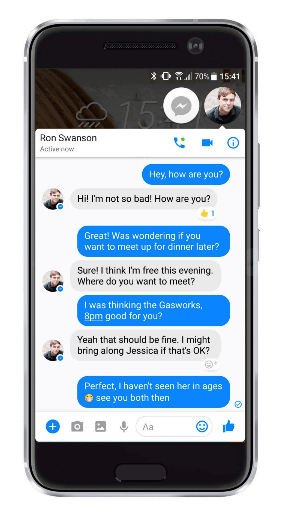
Facebook’s public aspect is wonderful, but it’s helpful to use the platform for individual conversations, too. To speak with someone else in a more private manner, use the Messaging platform.
Messenger lets you instantly communicate with other Facebook users. One way to send a private message to your friend is to click the “Messages” link on the left-hand side of your homepage. A Messages page should load, and you can click “New Message” in the top right corner.
A blank message will come up, and you decide who you want to send the message to and what you want it to say. In some ways, this is like email. The main differences are that your personal email isn’t revealed and you don’t need to know the address of the person you want to speak with.
A thing to remember about Facebook messaging is that, like email, it can be used by scammers and thieves. Whenever someone you’re not friends with tries to send you a message, you’ll see a message request. Message requests are filtered out of your inbox because Facebook knows that they can be spam.
To check your message requests, tap “People” from your homepage and select “Message Requests.” Sometimes, messages from people you really know are incorrectly filtered to this area of Facebook, which is why you should check the folder from time to time.
However, be careful when you look at it, as some messages might be from criminals and spammers who want to take advantage of you.
5) Post Personally
Some people only use Facebook to see what their friends are up to. However, it’s also fun to create your own content and keep your contacts up-to-date on your life. One of the best ways to do this is to post a status.
From your homepage, click on the box that says “What’s on your mind?” near the top of your feed. Then, start typing a short update on what’s happening in your life. This message could be anything from “Just had breakfast with friends” to “I’m reading a great book that I highly recommend!”
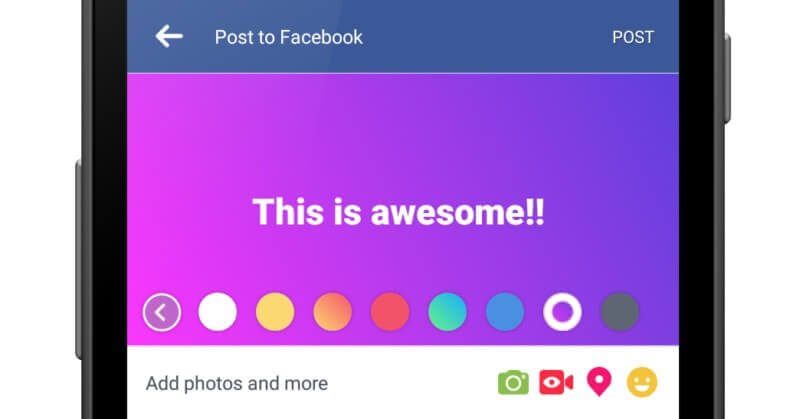
After crafting your message, you can click “Post” or hit the “Enter” or “Return” key on your keyboard to make your message go live. If you want your post stand out, you can publish your message with a background. Before you post your status, select one of the color options to add it as your background.
Another wonderful idea is to post photos or create albums for your friends to see. To add an individual photo or video, click “Photo/Video” at the top of your homepage. Upload the content you want to post and click “Post.” Keep in mind that as soon as you hit “Post,” everyone you’re friends with on Facebook can see your photo or video.
Only the Beginning
The five tips above will ensure you have a good experience as a new Facebook user, but they only brush the surface of all that Facebook has to offer. As soon as you master these tips, you can start to explore Facebook’s Help Center to learn more about its other features and offerings.


