Capturing and editing great video footage is difficult, no matter what type of content you’re creating. Whether you’re making videos for fun on social media, professionally, or your family’s personal archives, you have to know how to work with several pieces of technology to achieve success.
Although shooting good video is challenging, editing is where the real work begins.
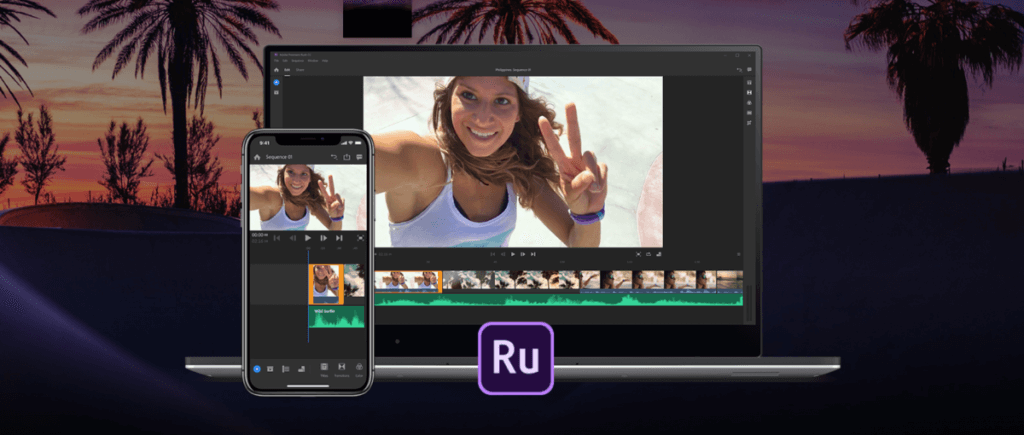
If you want your videos to look their best, you need Adobe Premiere Rush. Adobe’s editing program, now available on phones with an Android operating systems, will allow you to create stunning videos for social media and general video storage. No matter what you use to edit your photos now, Premiere Rush can be your next all-in-one solution if you are wanting to capture content, edit, and push it to your preferred platform, all on your Android smartphone or iPhone (iOS).
Premiere Rush
Premiere Rush was first released on desktop and iOS. Most recently, it’s added Android to its supported platforms. First things first, it’s amazing that Android is powerful enough to handle comprehensive video editing. You’ll likely be impressed by how beautifully you can edit a video on your smartphone. That said, not all Android devices are currently compatible with this program.
To experience the program on Android for yourself, you can download it from GooglePlay or Amazon. During a free trial period, you can edit countless projects and export three files for free. Whether you have the paid or unpaid version of Adobe Rush for Android, you will have access to cloud-syncing.

This feature allows you to share your projects digitally across different technologies. For example, you could start editing a video on your Android and then pick up where you left off on a PC. Another huge benefit of the Android app is its optimization for social media.
Getting Started
When you open Rush for the first time, you can choose to be taken through step-by-step directions and instructions. Right away, you’ll be able to start your first project. You may either capture live video or upload media from your stored content.
With the right knowledge, it’s easy to edit and share videos from your Android. When you use Rush, you will have access to color correction, audio creation, audio alteration, customizable graphics, professionally-designed templates, motion graphics, transitions, color filters and more.
If you choose to use any of these features, you can still customize to your liking and make sure your project has a personal feel.
Navigating the App
When you are first working with Rush, you’ll want to click on the “Create a New Project” button. You will then be given options for importing locations. At the bottom of the list, there is a sample area where you can choose stock videos to import. At first, it’s nice to work with the sample content. You don’t want to accidentally alter your important videos while you’re learning.
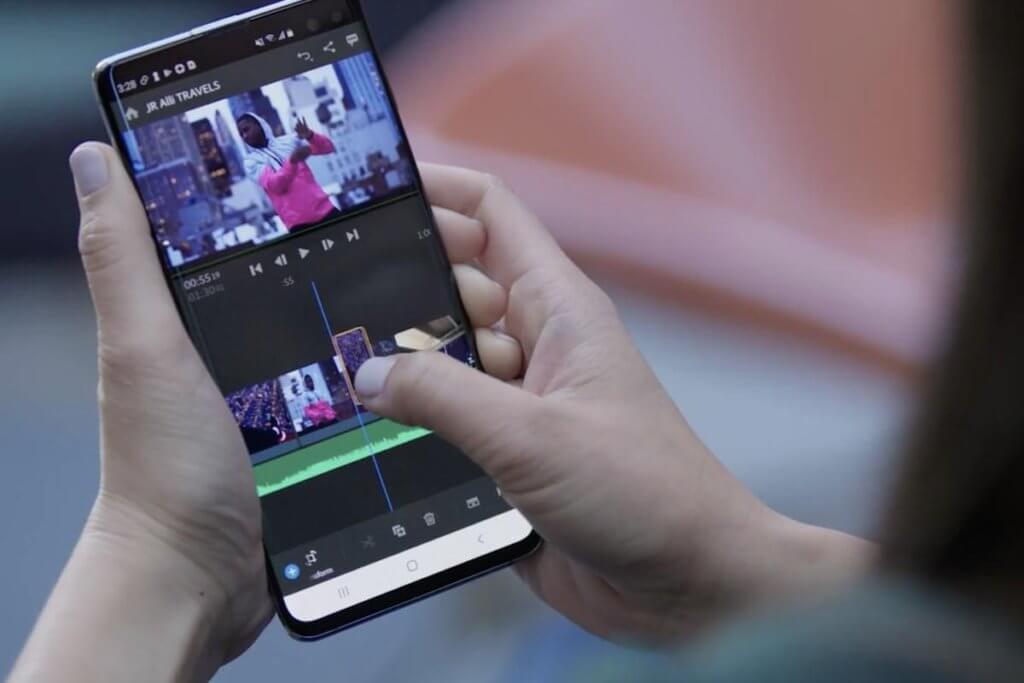
Begin by choosing some stock video and the audio file. Next, you’ll name the project and click “Create.” You will see the user interface at this point. On the bottom of the screen is a timeline with a blue playhead. When you move the playhead to the left and right, you can scan through your footage. You may also use the skip backward, rewind, play, pause, fast forward and skip forward buttons to navigate.
Your various clips will be placed in the order they were uploaded. You can select, drag and drop various clips to the order in which they should display. In the timeline, you may also shorten clips by pressing the edge of the box around the clip with your finger and then condensing it to the left or right.
Near the top of your Android’s screen, you’ll see a blue “+” icon. When you open this menu, you can rename your video, add more media or create a voiceover. Underneath the “+” icon is a box icon that gives you access to your project. Here, you can change the media you already have uploaded. By pressing your finger down on any clip, editing options will open.
Next to the timeline is a pair of scissors icon. When this item is selected and then a clip on the timeline is chosen, the program will split the clip into two or more pieces. The icon under the scissors allows you to duplicate your clip.
This feature can be useful if you want to test out editing on a part of your project or make a particularly beautiful shot more prominent. The next button you’ll see on this part of the screen is the trash icon. All you need to do is select a clip and hit the trash button to delete it from your project.
Moving down further on the left bottom of the screen, you’ll run into the audio editing portion of the app. Pushing the audio button will add an audio screen below the video thumbnail. The last button is a “control tracks” option. You may use the menu that populates to lock audio, mute music, record voiceover, etc.
The top right of your Android screen should house titles, transitions, color, audio, crop and rotate. Under the “Titles” section, you will see various templates. To select a template, all you need to do is click on it and drag it to the timeline or preview window. The template will then be added to your project as its own layer.
If your template has writing, you can double tap on various boxes to enter your own script or wording. Under this menu, you can also navigate to the “Edit” tab. There is size, character spacing, line altering and all of the other modifications you’d expect in this area.
The transition panel is another great tool that can really enhance your videos. A few transitions will populate when you open this tool. To add one, you tap, drag and drop it to the clip you’d like it to alter. You can add as many different transitions to one clip as you’d like.
To change the time duration of the transition, click on the transition in the timeline and either expand or shorten its length. There is also an “Edit” tab that you can use to alter the duration of a transition.
Next, color grading allows you to manage the look of your video easily. When you click on a clip, you can select from several built-in presets. Like the previously mentioned options, there is also an “Edit” tab that allows you to further personalize color grading.
“Audio” helps you preview different audio bits and make sense of them. When a clip is selected, advanced settings should populate. Adobe Rush will tell you what type of audio is playing, such as a music track or person speaking. You can choose to mute, change the volume, alter the sound balance, improve the speech and reduce echo or background noise within this menu.
Another important setting on the app’s main screen allows you to change the orientation and look of your video. On the more advanced side of things, you can crop from a specific angle, change the scale of the clip and adjust video feathering.
Once you’re done editing, you’ll click “Share” to access several exporting options. The exporting options listed are some of the most popularly used, like save locally, export to YouTube, Facebook and Instagram.
When you click any of the social options, you will be able to sign in directly in the app to publish to your platform of choice. Before you upload, you can see your file size and alter exporting options if you choose.
If you are having any kind of difficulty using Adobe Premier Rush for Android, strongly consider reaching out to HelpCloud technicians for remote support to help you resolve the issue.
Video Creation Is Still Key
Having great videos and photos of what’s important to you is priceless. Luckily, editing can improve your footage and images greatly, but it can only do so much if the original content is subpar.
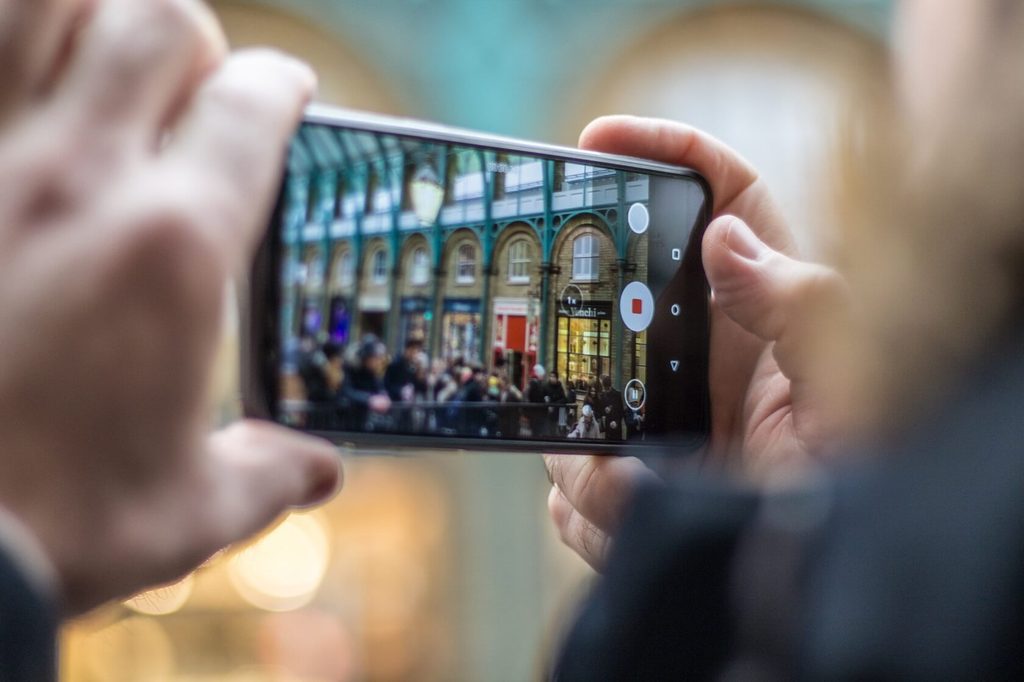
There are many things you can do to improve the quality and look of the videos you shoot. First, make sure you always have a clean lens. If you’re shooting with a smartphone, chances are your lens has a fingerprint or other piece of debris stuck to its glass.
Next, get to know your phone, camera or video recorder.
Each piece of technology should have special options to alter the resolution, frame and other settings that can help you capture better video. Android users, the settings you want to access are often in the main camera application itself. iPhone users generally have to access such settings under the main “Settings” menu.
Smartphone owners have another huge advantage when it comes to making videos, slow motion. Many phone cameras are now able to shoot in a slo-mo speed. Whether you’re at a family member’s sporting event, watching someone blow out his or her birthday candles or recording a dog jumping into a pond, it’s fun to see things in slow motion.
Another largely overlooked camera skill is stability. When you shoot with a smartphone, it’s easy to have your footage look shaky because it’s hard to hold a phone still. Whenever possible, tuck your elbows to your torso to create a type of human tripod. Other options are to place the phone up against an object for support or to buy a tripod that’s compatible with your camera, video recorder or phone.
Also, taking general photography guidelines into account never hurts. One of the best suggestions that can help you compose better images and video is the rule of thirds. With this technique, you visually break an image into thirds horizontally and vertically so it has nine parts.
If you can place parts of interest at various intersections or along the imaginary lines, you might find that your image or video feels more well-balanced and composed.
Get Recording
Starting is often the hardest part of using Adobe Premier Rush, either on or off Android.
Although it may take an hour or so to get acquainted with the system, when you do, you’ll likely forget what life was like without its quick, user-friendly editing capabilities.

